
Guardsman In-Game
This documentation details how to set up the Guardsman In-game system in your games.
Inserting the model
Getting the model into your game is extremely easy!
- Download the Guardsman Loader
- Insert the model into your Roblox game, and be sure to place it in
ServerScriptService!
Caution
The Guardsman Loader must be placed in ServerScriptService, or a location the client cannot see. Leaving the Guardsman Loader in the workspace could potentially leak your configuration. The Guardsman Loader automatically will attempt to move itself out of the Workspace.
Guardsman is now almost ready to be used in-game! Lastly, we need to do some configuring.
NOTE: The Guardsman Loader script uses a PackageLink, so if we ever need to update the loader script, you'll automatically get the latest version.
Configuration
The Guardsman configuration module can be found in Guardsman Loader → config. Each setting has a comment next to it describing what it does. This tutorial will default common changes one would make to their configuration.
Changing the default prefixes
By default, all admin commands will use the ; prefix. For example, the fly command would be typed as ;fly me in chat or in the command box.
Warning
At this time, Guardsman only supports prefixes that are one character in length, and not the / character. If you wish to use the / character, consider enabling slash commands via the ENABLE_SLASH_COMMANDS property.
If you wished to use the : prefix, you would change the PREFIX setting to :.
Changing the key to open the command line (console)
You may wish the change the key that opens the command line / console menu. Guardsman supports setting multiple different activation keybinds.
By default, these keys are the " key, and the F2 key. If you wished to change the key to, for example, the right control key, you would do something like this:
CMDR_ACTIVATION_KEYS = { Enum.KeyCode.RightCtrl },
When typing Enum.KeyCode. you should see a list of keys that Roblox supports, and can choose from that menu which key you'd like to use.
Adding users to roles
Adding specific users to roles, or even entire groups of people to roles is extremely simple!
The roles in Guardsman are laid out as follows:
ROLES =
{
    ["ROLE_NAME"] =
    {
        position = 500 --// Any value between 0-999,
        users =
        {

        }
    }
}
In the users table, you can any variation of the following values:
users =
{
    62097945, -- Add user by user ID
    "imskyyc", -- Add user by username
    "Group:123456", -- Adds all users in group id 123456
    "Group:123456:100", -- Add all users in group 123456 above rank 100
    "Group:123456:100:200" -- Add all users in group 123456 above rank 100 and below rank 200
}
Plugins
Enabling HTTP (Web Services)
Info
This section only pertains to enabling Guardsman's web services for Guardsman In-Game. You do not have to configure HTTP, but it is highly recommended.
Prerequisites
Before setting up Guardsman in-game, you need to complete some steps if you have not already.
If you are the owner of a group:
- Sign up for a Guardsman account on the Guardsman Web Panel
- Create a group on the panel for your community
If you are an administrator in a group:
- Be invited to your group on the Guardsman Web Panel
- Have a role with the "Manage Whitelists" permission
- Ideally have permission to whitelist games.
Whitelisting your games
In order for Guardsman In-Game to be able to load your group's data, you must whitelist every place where Guardsman will be deployed.
- Log onto the Guardsman Web Panel
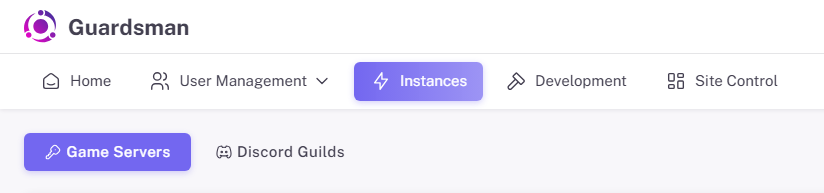
- Go to the "Instances" section and then to the "Game Servers" tab
- The "Instances" button may be hidden in a hamburger menu, accessible by clicking the three lines in the top left
- Click the "Add Experience" button
- You'll be shown a dialog asking for the Roblox Place ID of the game you're adding Guardsman to. Enter the Place ID and press submit.
Perfect! We've now whitelisted our game to be used by Guardsman In-Game, and a token has been generated. We'll use this token soon when we configure HTTP.
Configuring HTTP
Now, we'll finalize the configuration by setting the in-game values in the config module. The following values will need to be set:
USE_HTTP, must be set totrueHTTP_TOKEN, must be set to the token we generated in the previous step. You can get this token by pressing theCopy to Clipboardbutton next to the game you wish to configure.
The BASE_URL setting only needs to be changed if you are self-hosting Guardsman.
Now, if you enter a playtest session and see the current Guardsman web commit, you have successfully configured your in-game installation with Guardsman Web. Congratulations!